Eclipse for AVR Development
3. Create the Project
In this step, we will create the initial project for a simple application that blinks an LED on the Arduino Uno.
- Start Eclipse CDT.
- From the main menu, choose File -> New -> C Project.
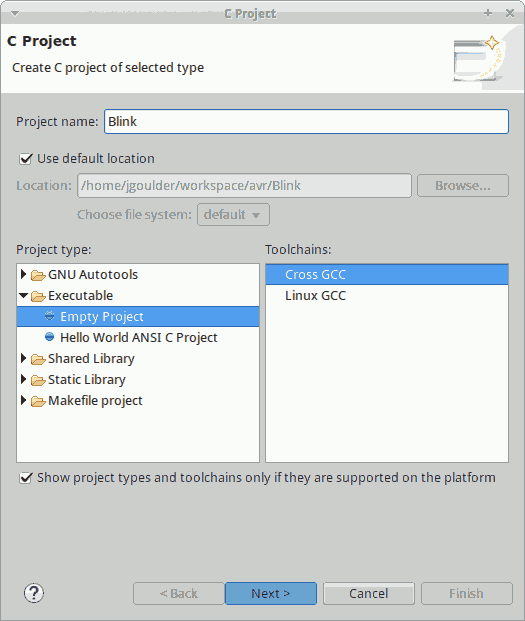
This will open the C Project creation wizard that will walk us through setting up some of the basic settings of the project. - Give the project a name, Blink.
The name is fairly important since it gets used throughout the project for various settings. I recommend keeping it relatively short and free of spaces. - For Project type, select Executable -> Empty Project.
An executable project is one that will create an application that will run on the AVR. We will be adding our own source files later, so we don’t need Eclipse to help us out with any example files. - For Toolchains, select Cross GCC.
The AVR toolchain is a GCC cross compiler. A cross compiler is simply a compiler that builds applications to run on a target different from the host. - Press Next.
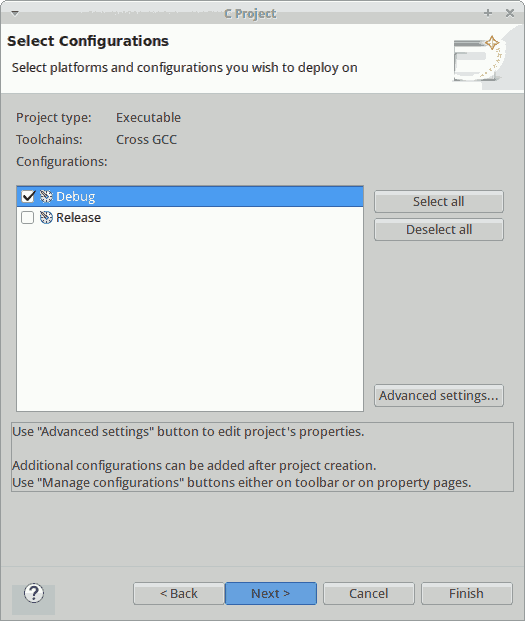
- Select the Debug configuration and deselect the Release configuration.
We have no need for a Release configuration since the flash image generated will be the same in either case. - Press Next.
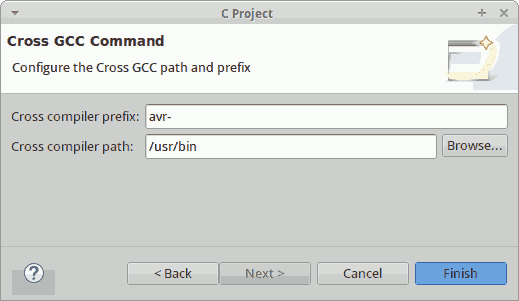
- Enter avr- for the Cross compiler prefix.
GCC cross compilers all have executables with the same base name prefixed with a string that indicates the target of the cross compiler. Eclipse needs to know this, so that it knows the names of the tools it is looking for. - For the Cross compiler path, enter the bin directory of the AVR toolchain installation.
This helps Eclipse find where the toolchain executables are located. - Press Finish.
- Eclipse will now create the project and open it in the Project Explorer view.