Eclipse for AVR Development
4. Configure the Project
Now it’s time to setup the project configuration so that Eclipse knows how to properly build our project.
- Right-click the project in the Project Explorer view and choose Properties.
This will open the project properties window so that we can further configure the project. - Select C/C++ Build.
- Choose Internal builder for Builder type.
We are going to let Eclipse handle the build internally. If you have GNU Make installed, you could also use the External builder.
- Expand C/C++ Build and select Build Variables.
- Add a new variable with the name DEVICE and value atmega328p.
We use the device name several places in the configuration. Defining it here allow us to change devices more easily by just changing the device name in only one place.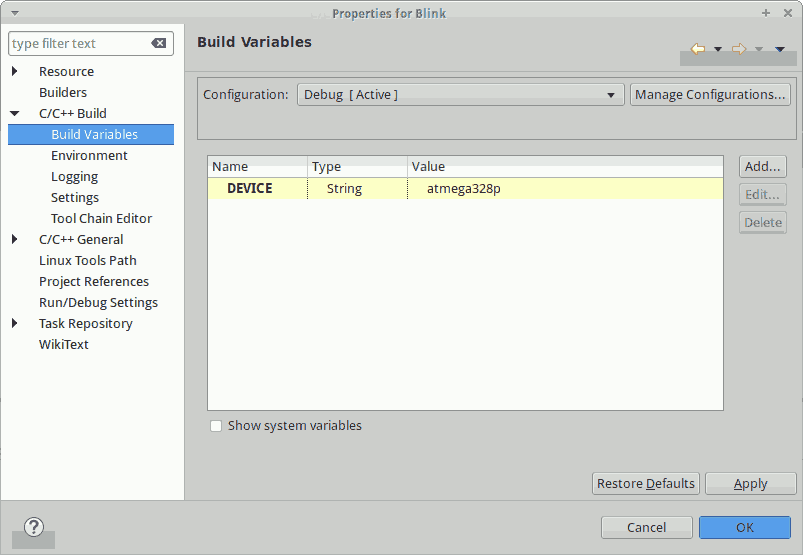
- Expand C/C++ Build, select Settings, and then select the Tool Settings tab.
- Under Cross GCC Complier, change Command to gcc -mmcu=${DEVICE}
GCC needs to know the device it will be targeting so that it generates the correct instructions.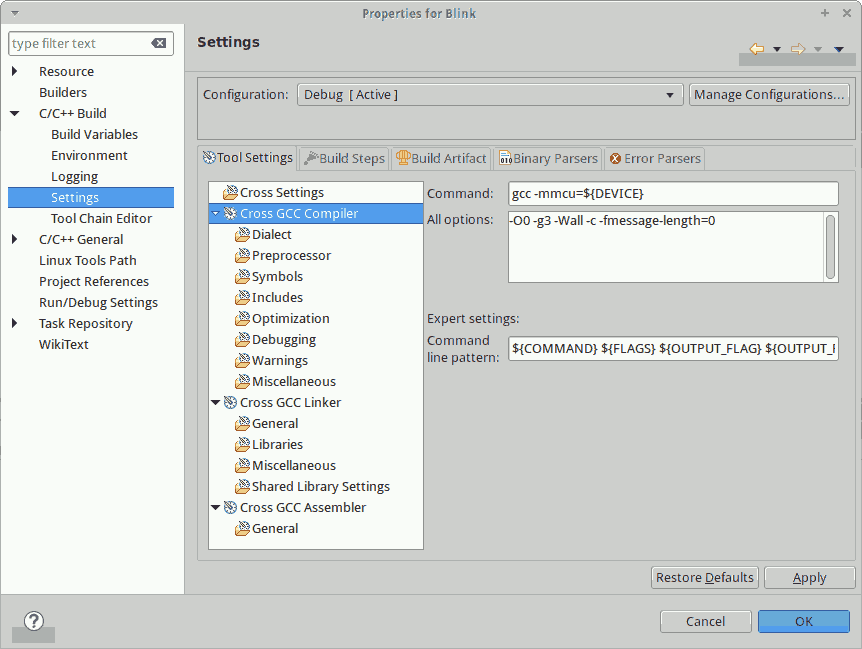
- Under Cross GCC Compiler -> Symbols, add F_CPU=16000000UL to Defined symbols.
This allows your code to use F_CPU to do calculations based on the frequency of the main clock. This is used specifically by the delay routines provided by <util/delay.h>.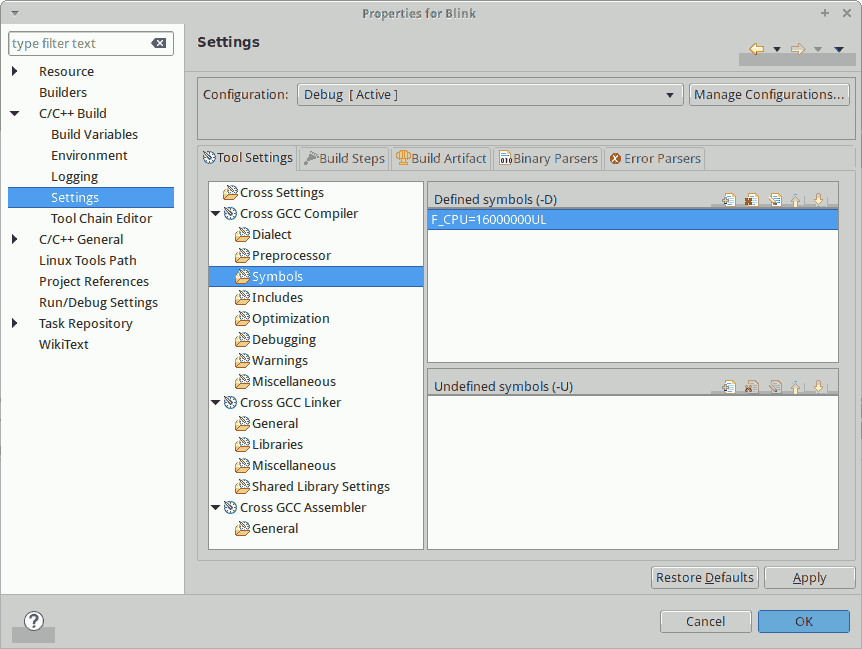
- Under Cross GCC Compiler -> Optimization, change the Optimization Level to Optimize for size (-Os).
AVR devices are very limited on program space, so we need all the help from the compiler we can get. Also, this setting is required for the delay routines provided by <util/delay.h> to work properly.
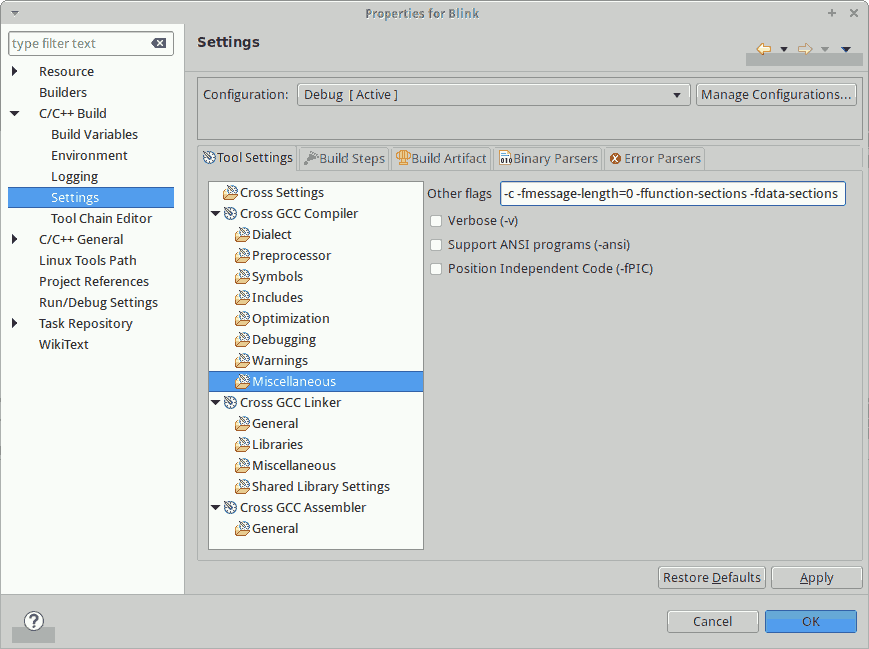
- Select Cross GCC Compiler -> Miscellaneous, add the following flags to Other flags:
- -ffunction-sections
This puts each function into its own section in the output file so that the linker can save space by removing the unused ones. - -fdata-sections
This puts each data item into its own section in the output file so that the linker can save space by removing the unused ones.
- -ffunction-sections
-
Under Cross GCC Linker, change Command to gcc -mmcu=${DEVICE}
GCC needs to know the device it will be targeting so that it generates the correct instructions.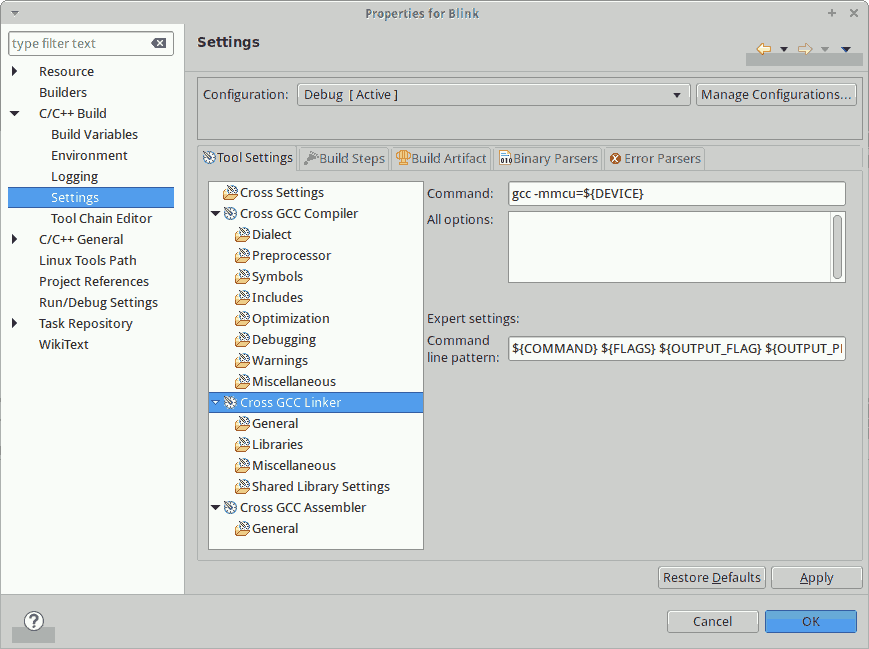
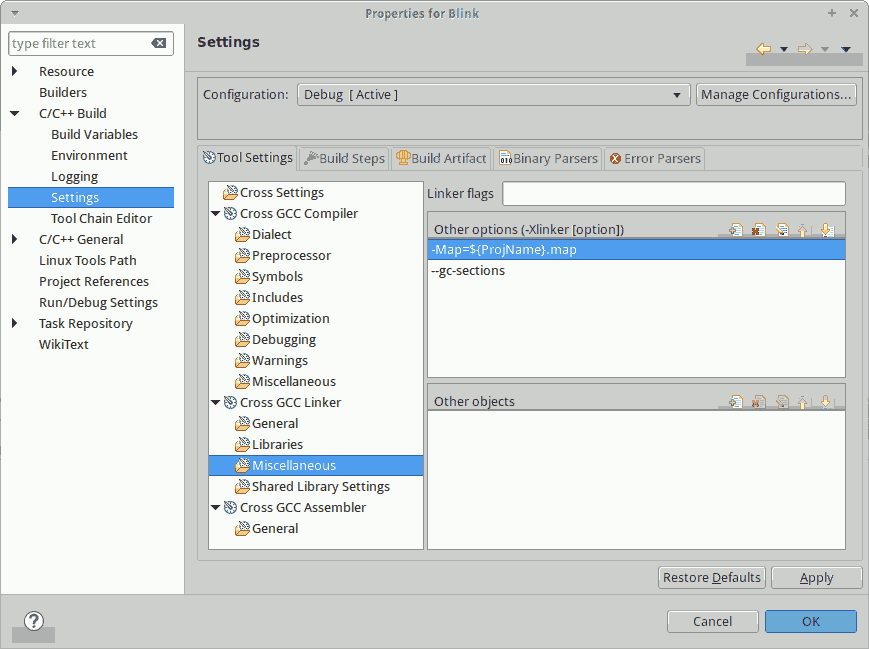
- Select Cross GCC Linker -> Miscellaneous.
- Add the following options to Other options:
- -Map=${ProjName}.map
Instruct the linker to create a map file. --gc-sections
Instruct the linker to remove unused sections. This helps to save precious program space.
- -Map=${ProjName}.map
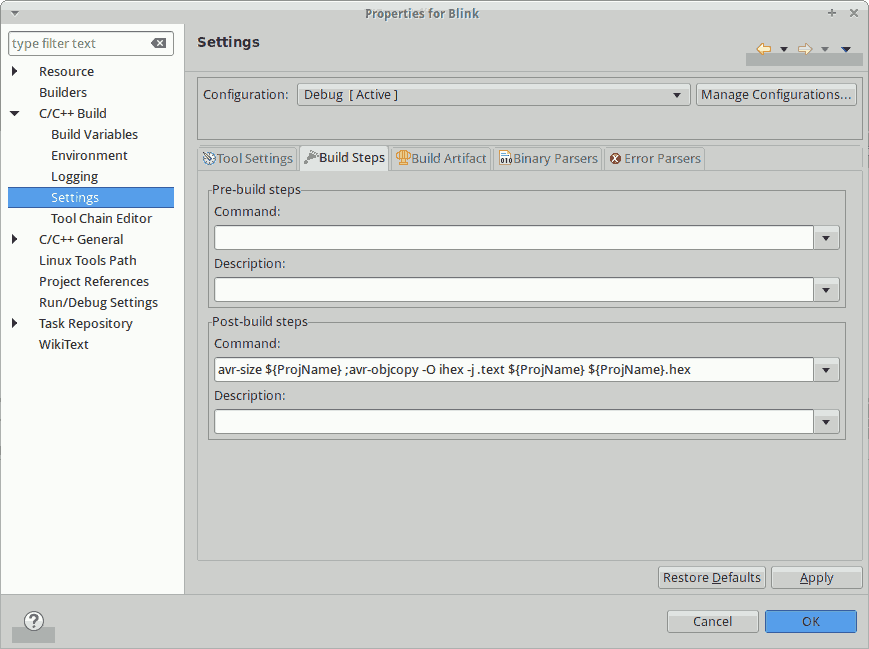
- Select the Build Steps tab.
-
Add the following command under Post-build steps:
avr-size ${ProjName} ;avr-objcopy -O ihex -j .text ${ProjName} ${ProjName}.hexNote: There is no white space between the semicolon and avr-objcopy.
This command will run after the build is finished to print out the size of the code and data sections and generate the HEX file needed to flash the AVR.
- Press OK.
- Now that the project is configured, we are ready to add some source code and start building.